What Is OpenClaw and Where It Fits in the Open-Source Agent Ecosystem
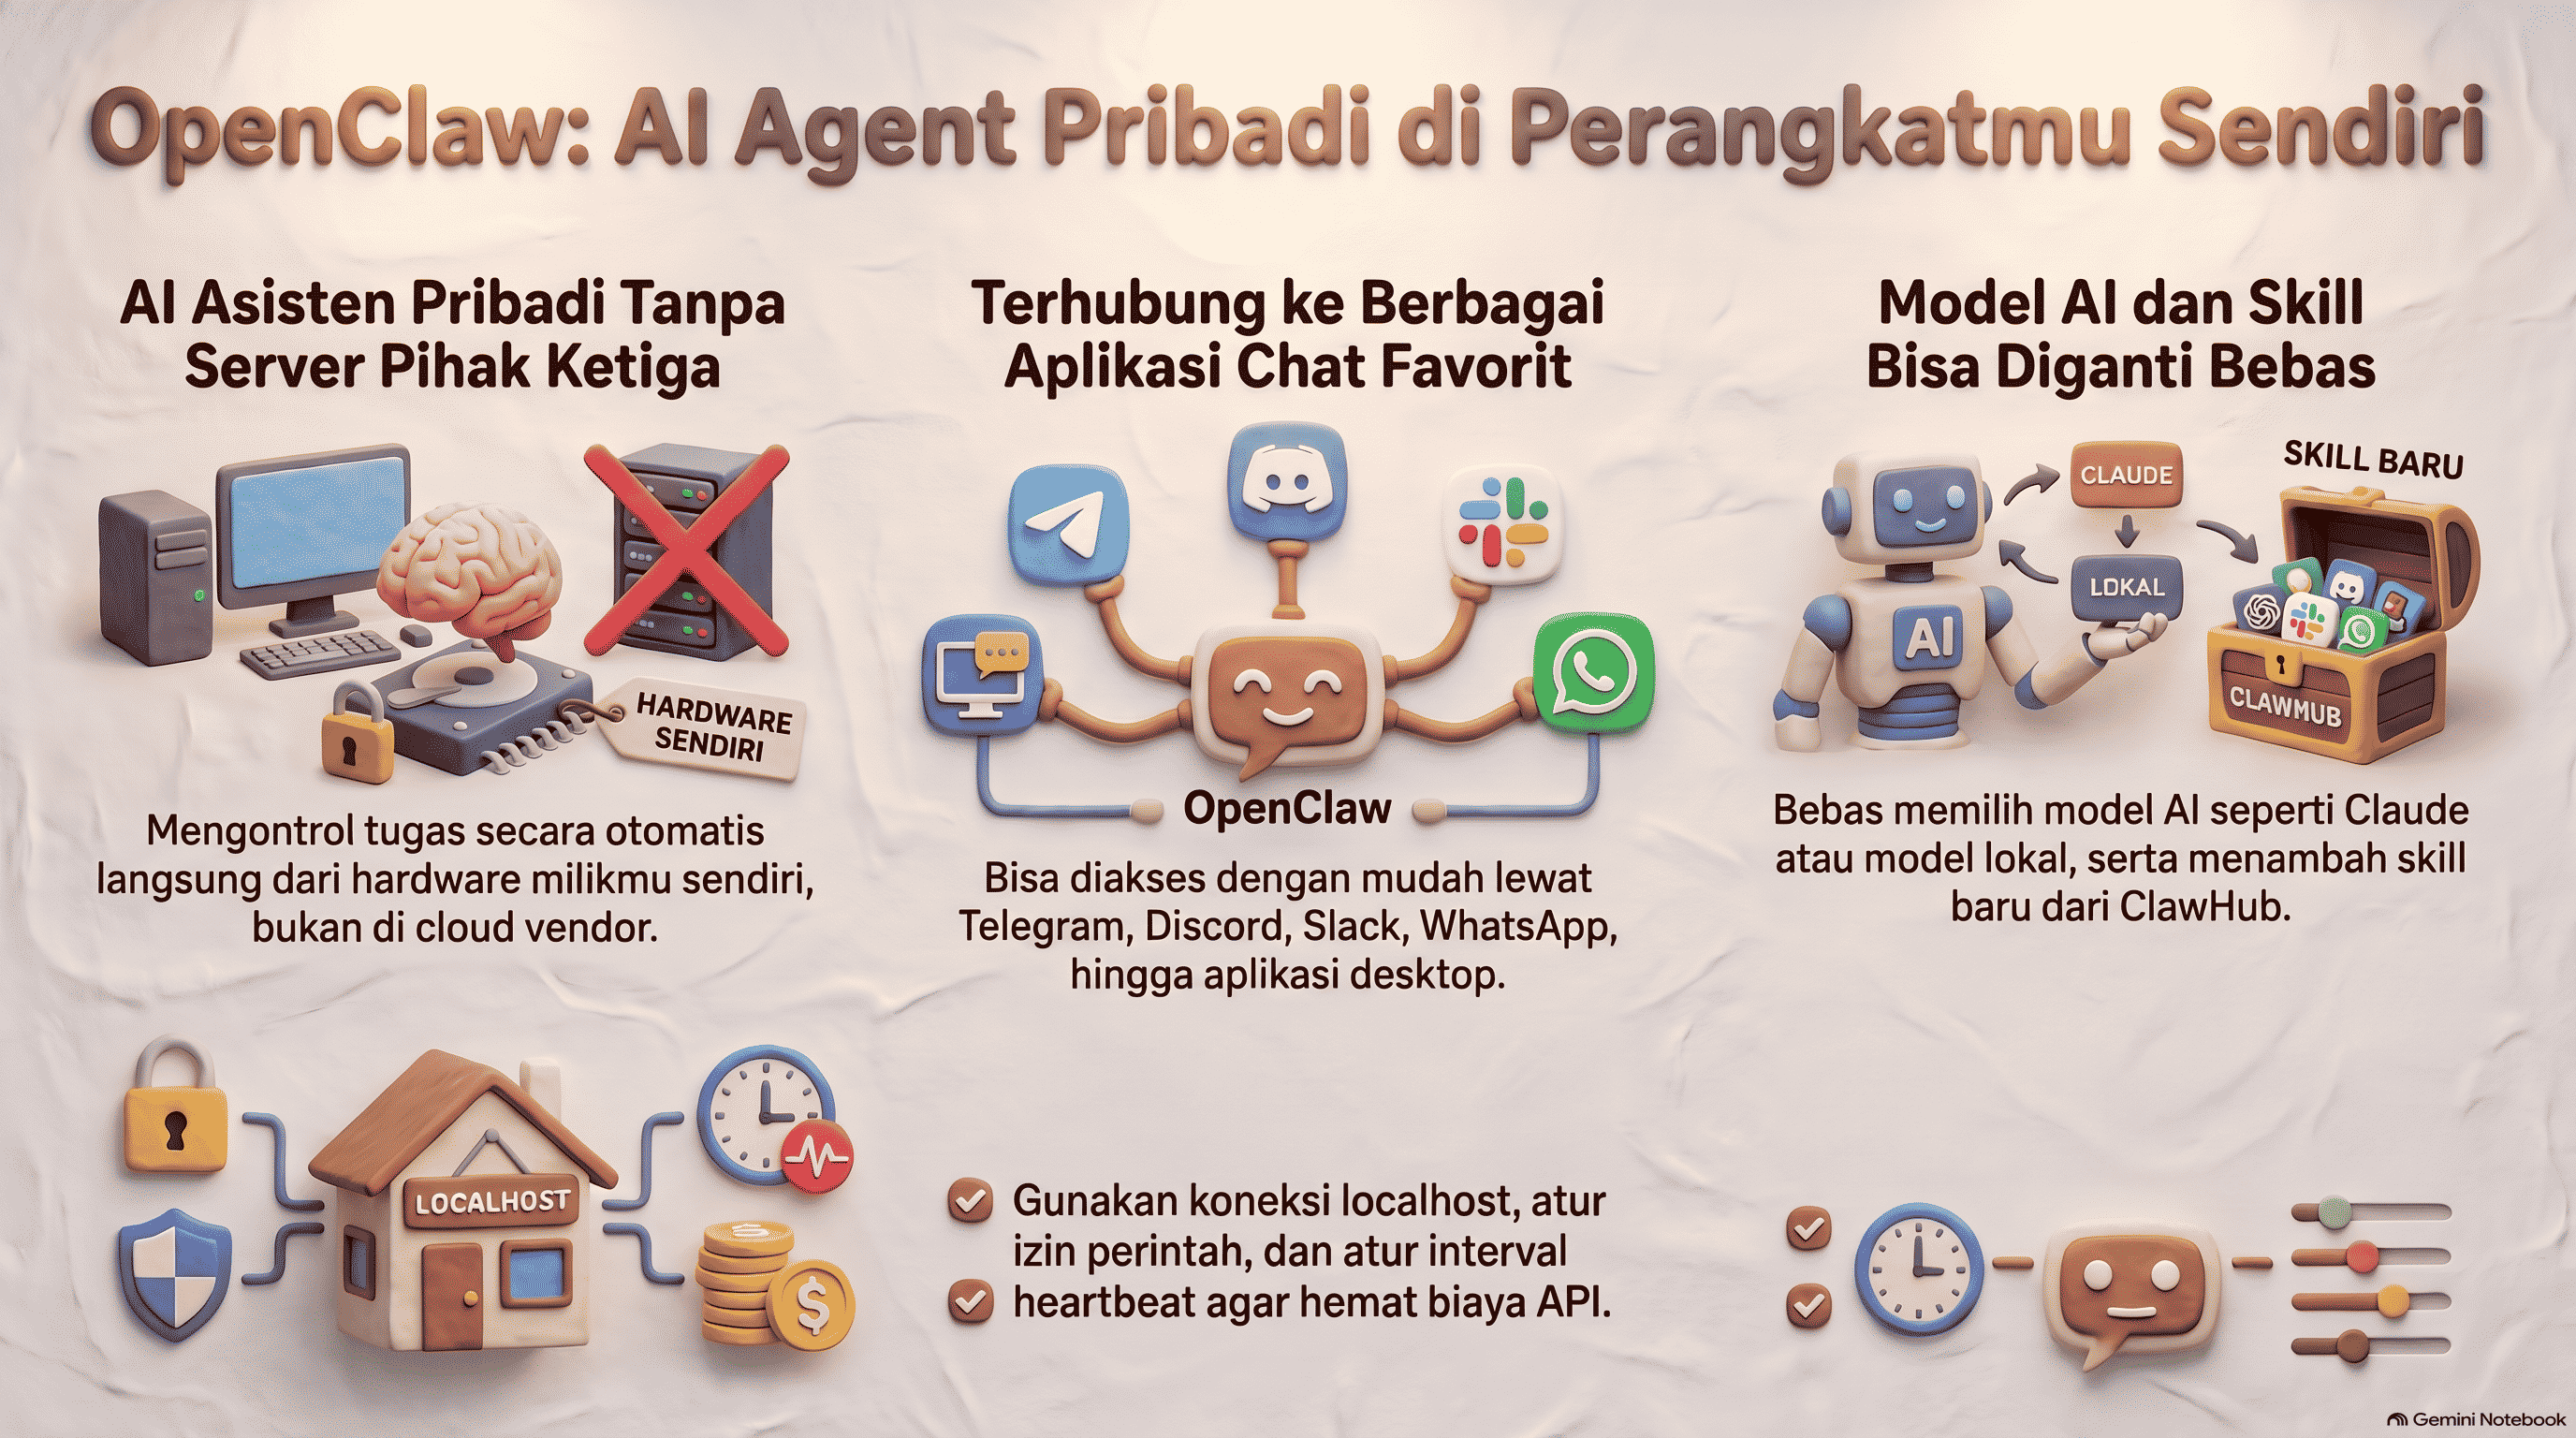
OpenClaw is an open-source AI assistant that runs on a computer or server you own and meets you in the chat apps you already use — Discord, Telegram, Slack, Microsoft Teams, WhatsApp, iMessage, and 20+ other channels, plus native apps for macOS, iOS, Android, Windows, and Linux. A single component called the Gateway runs everything as a local control plane, whether you're using it as a personal assistant on a laptop or as a shared team deployment; only the configuration differs.
What sets OpenClaw apart from a plain API-based chatbot is that state, memory, and credentials live on your own hardware instead of a vendor's cloud. Models and agent harnesses (Claude, Codex CLI, or local models) are treated as swappable plugins that can be changed without touching anything else in the stack. The project is developed in the open by the OpenClaw Foundation, an independent 501(c)(3) nonprofit, with no paid tier, no official hosted service, and no token.
Within the open-source agent ecosystem, OpenClaw occupies a fairly unique spot: one of the few projects combining full system access, dozens of messaging-channel integrations, persistent memory, and an autonomous heartbeat mechanism all at once. That makes it far more flexible than commercial coding agents like Devin or Cursor Agent, which are scoped to the IDE — but the trade-off is a larger risk surface, which is exactly why the security section near the end of this article is required reading before running it for anything serious.
Installation: Prerequisites, Installer Script, and the Onboarding Wizard
Before installing, make sure Node.js 24.16+ or 26.1+ is available (Node 26 is the recommended runtime). Check your version with node --version.
The fastest way to try it without a permanent install:
npx openclaw@latest
If you already have a Claude Code or Codex CLI login, or a stored provider API key, OpenClaw detects it automatically, verifies it with a real completion, saves the configuration, and opens the web dashboard — just one confirmation step after a brief pointer to the security guide.
For a permanent install, use the installer script for your OS:
# macOS / Linux / WSL2
curl -fsSL https://openclaw.ai/install.sh | bash
# Windows PowerShell
iwr -useb https://openclaw.ai/install.ps1 | iex
If you already manage Node.js yourself, install the package directly via npm:
npm install -g openclaw@latest --allow-scripts=openclaw
The installer automatically launches the onboarding wizard once installation finishes. The wizard verifies model access, creates the workspace, and configures the Gateway. Choose "Quick start" to reuse detected AI access, or "Custom setup" to walk through every guided option one by one. Once the wizard is done, run openclaw gateway install so the Gateway keeps running as a background service (a LaunchAgent on macOS, a systemd user unit on Linux/WSL2, or a Scheduled Task on Windows). Verify it with openclaw gateway status — it should show as listening on port 18789 — then open the Control UI with openclaw dashboard to send your first message.
Connecting a Model Provider and Chat Channels
The onboarding flow already handles the model side: OpenClaw can reuse an existing Claude Code or Codex CLI login, or an API key from another provider. Because the architecture is model-agnostic, the underlying model provider can be swapped at any time without touching the rest of the configuration.
On the channel side, Telegram is the fastest way to start chatting from your phone since it only needs a bot token. Discord, Slack, WhatsApp, Microsoft Teams, and dozens of other channels are configured through the official Channels documentation, each with its own authentication flow — some need nothing more than a simple bot token, others require OAuth or an app setup on the platform's side.
One security detail worth flagging early: inbound messages should always be treated as untrusted input. Channels that support DMs automatically pair unknown senders, and they can only start talking to the agent once approved with:
openclaw pairing approve <channel> <code>
The SKILL.md Skill Model and Adding Your First Skill
A skill in OpenClaw is a markdown instruction file that teaches the agent when and how to use a given tool. Each skill lives in a folder that must contain a SKILL.md file with YAML frontmatter — at minimum a name and a description — plus a markdown body with usage instructions.
OpenClaw loads skills from several sources at once, following this precedence order (when the same skill name appears in more than one place, the higher-priority source wins):
| Priority | Source | Path |
|---|---|---|
| Highest | Workspace skills | <workspace>/skills |
| 2 | Project agent skills | <workspace>/.agents/skills |
| 3 | Personal agent skills | ~/.agents/skills |
| 4 | Managed/local skills | <state-dir>/skills |
| Lowest | Bundled & extra dirs | shipped with the install / skills.load.extraDirs |
The quickest way to add your first skill is installing it from ClawHub, the official community skill directory:
openclaw skills install @owner/<slug>
Skills can also be installed straight from a Git repository (openclaw skills install git:owner/repo@ref) or from a local folder (openclaw skills install ./path/to/skill --as my-tool). Once installed, a skill can be invoked explicitly by typing $ in the Control UI composer to search for its name, or through a slash command like /skill-name directly in a chat channel.
Because a third-party skill is essentially code the agent gets to run, treat any skill you didn't write yourself as untrusted code — read through it before enabling it, especially if it comes from outside ClawHub.
Required Reading Before Running This in Production
Before connecting other users or running OpenClaw on a server reachable from outside your network, four things need to be understood first:
Bind to localhost. By default the Gateway listens on port 18789. Don't expose this port to the internet without authentication — if remote access is needed, put it behind a reverse proxy with auth instead of exposing the port directly.
Permission mode. For exec/shell commands, start in ask mode so every command needs explicit approval before it runs. Only loosen the mode once you trust the specific skills and workflows in use.
Sandboxing. By default, tools run directly on the host for the main session unless sandboxing is explicitly configured. For risky tasks or input that isn't fully trusted, run them through a Docker container, the --container flag, or a separate VM.
Heartbeat cost control. The heartbeat is the mechanism that lets OpenClaw act autonomously without waiting for a prompt — by default it fires roughly every 30 minutes, around the clock, and every cycle consumes tokens. According to the ClawDocs community documentation, an unmanaged heartbeat can end up being the single biggest driver of an API bill. A few ways to bring it down:
| Change | Effect |
|---|---|
| Use a cheap model for the heartbeat | Saves 80–90% of heartbeat cost |
| Increase the interval to 60 minutes | Saves ~50% |
| Enable quiet hours | Saves ~33% |
| Use a local model for the heartbeat | Saves 100% of heartbeat API cost |
Enable isolatedSession |
Cuts per-cycle context from ~100K down to 2–5K tokens |
Combining a few of these changes can meaningfully cut the monthly bill without giving up what the heartbeat is actually for.
Wrapping Up
In roughly 15 minutes — install Node.js, run the installer, finish the onboarding wizard, connect a channel like Telegram — a developer or technical founder ends up with a self-hosted AI agent running on their own infrastructure. The natural next step is experimenting with a first skill from ClawHub, then setting aside extra time to read the official security and sandboxing guides before trusting this agent with production work.
Need stable infrastructure to keep an OpenClaw Gateway running around the clock? katili.dev offers hosting services that can serve as a reliable place to deploy self-hosted setups like this one.