Why Google Search Console Matters for Your New Website
You've just launched your website — whether it's a personal blog, an online store, or a business landing page. Now what? One of the most critical (and often overlooked) steps is registering your site with Google Search Console (GSC).
Google Search Console is a free tool provided by Google that lets website owners monitor how Google crawls, indexes, and displays their site in search results. Without it, you're essentially flying blind when it comes to technical SEO — unable to see the issues that may be preventing your site from ranking.
Key Benefits of Google Search Console
Here's what GSC empowers you to do:
Monitor search performance — discover which keywords drive traffic, how many times your pages appear in search results (impressions), and how many users click through (CTR).
Identify indexing issues — see which pages failed to get indexed and understand why.
Submit your sitemap — proactively inform Google about your site's URL structure.
Track Core Web Vitals — measure page performance based on real user data.
Receive critical alerts — Google will notify you of security threats, manual actions, and critical crawl errors.
Step 1: Register and Verify Domain Ownership
Getting started with GSC is straightforward. Follow these steps:
1.1 Open Google Search Console
Go to search.google.com/search-console and sign in with your Google account.
1.2 Add a New Property
Click "+ Add property" in the top-left corner. You'll be presented with two options:
Domain property — covers all subdomains and protocols (http/https). This is the more comprehensive option and is generally recommended.
URL prefix property — covers only URLs matching a specific prefix, such as
https://www.yourdomain.com.
For a new website, the Domain property is the better choice, as it tracks all versions of your URLs simultaneously.
1.3 Verify Domain Ownership
Google needs to confirm that you actually own the domain. Several verification methods are available:
a. DNS Record (Recommended for Domain property)Copy the TXT record provided by Google and add it to your domain's DNS settings through your domain registrar's control panel (e.g., Cloudflare, Namecheap, or your hosting's cPanel). DNS propagation can take anywhere from a few minutes to 48 hours.
b. HTML File UploadDownload the HTML file provided by Google and upload it to the root directory of your web server. Then click Verify in GSC.
c. HTML Meta TagCopy the provided meta tag and paste it inside the <head> section of your homepage's source code.
d. Google Analytics / Google Tag ManagerIf you already have Google Analytics or GTM installed, you can use the existing tracking code to complete verification instantly.
Once verification is successful, GSC will begin collecting data for your property.
Step 2: Submit Your Sitemap.xml to Google
A sitemap is an XML file containing a list of all important URLs on your site, helping Google discover and understand your content structure faster and more efficiently.
2.1 Confirm Your Sitemap Exists
Many CMS platforms (such as WordPress, Laravel with the spatie/laravel-sitemap package, or Shopify) generate sitemaps automatically. Try visiting https://yourdomain.com/sitemap.xml — if an XML file listing your URLs appears, your sitemap is ready.
If one doesn't exist yet, you'll need to create it manually or use an appropriate plugin or package for your platform.
2.2 How to Submit Your Sitemap in GSC
In the GSC dashboard, select your website property.
In the left-hand menu, click Sitemaps (under the Indexing section).
In the "Add a new sitemap" field, enter your sitemap URL — for example:
sitemap.xml.Click the Submit button.
GSC will process your sitemap and display its status — whether it was read successfully or if there are errors. If successful, you'll see the number of URLs discovered.
2.3 Sitemap Best Practices
For large websites, split sitemaps by content type (e.g., one for blog posts, one for pages, one for products).
Keep your sitemap up to date, especially after publishing new content.
Only include publicly accessible URLs (those not marked
noindex) in your sitemap.
Step 3: Understanding and Reading Core Web Vitals Data
Core Web Vitals is a set of metrics defined by Google that measure real-world user experience on a web page, covering loading performance, interactivity, and visual stability. Google uses these metrics as ranking signals.
The data in the GSC Core Web Vitals report comes from the Chrome User Experience Report (CrUX) — field data collected from real Chrome users who visit your site, not simulated or lab-based results.
3.1 The Three Core Web Vitals Metrics
Largest Contentful Paint (LCP) — Loading PerformanceMeasures the time it takes to render the largest visible content element in the viewport — typically a hero image, video, or large block of text.
| Status | Threshold | |---|---| | ✅ Good | ≤ 2.5 seconds | | ⚠️ Needs Improvement | ≤ 4 seconds | | ❌ Poor | > 4 seconds |
Interaction to Next Paint (INP) — ResponsivenessMeasures how quickly the page responds to user interactions — clicks, taps, and keyboard inputs — throughout the entire visit session.
| Status | Threshold | |---|---| | ✅ Good | ≤ 200 ms | | ⚠️ Needs Improvement | ≤ 500 ms | | ❌ Poor | > 500 ms |
Cumulative Layout Shift (CLS) — Visual StabilityMeasures how much page elements shift unexpectedly during loading. A score of 0 means no shifting at all.
| Status | Threshold | |---|---| | ✅ Good | ≤ 0.1 | | ⚠️ Needs Improvement | ≤ 0.25 | | ❌ Poor | > 0.25 |
3.2 How to Read the Core Web Vitals Report in GSC
In the GSC dashboard, click Core Web Vitals in the left menu (under Experience).
The report displays a trend chart of URLs grouped by status — Good, Needs Improvement, and Poor — separated for Mobile and Desktop devices.
Click Open report to drill into details for a specific device type.
In the detail table, you can see which URL groups have issues, along with the specific metric responsible (LCP, INP, or CLS).
Click any row to view example URLs affected by that specific issue.
Important Note: If you just registered your property, the report may show "No data available." This is expected — it may take a few days after property creation for GSC to surface existing CrUX data for your domain.
3.3 How to Fix Core Web Vitals Issues
Slow LCP? Compress your images, use WebP format, enable server-side caching, and consider a CDN.
High INP? Reduce heavy JavaScript execution and avoid long tasks on the browser's main thread.
High CLS? Always specify dimensions (width and height) on images and videos, and avoid injecting dynamic content above existing content on the page.
After implementing fixes, click Start Tracking in GSC to begin a 28-day validation monitoring period.
Step 4: Monitoring Indexing and the Coverage Report
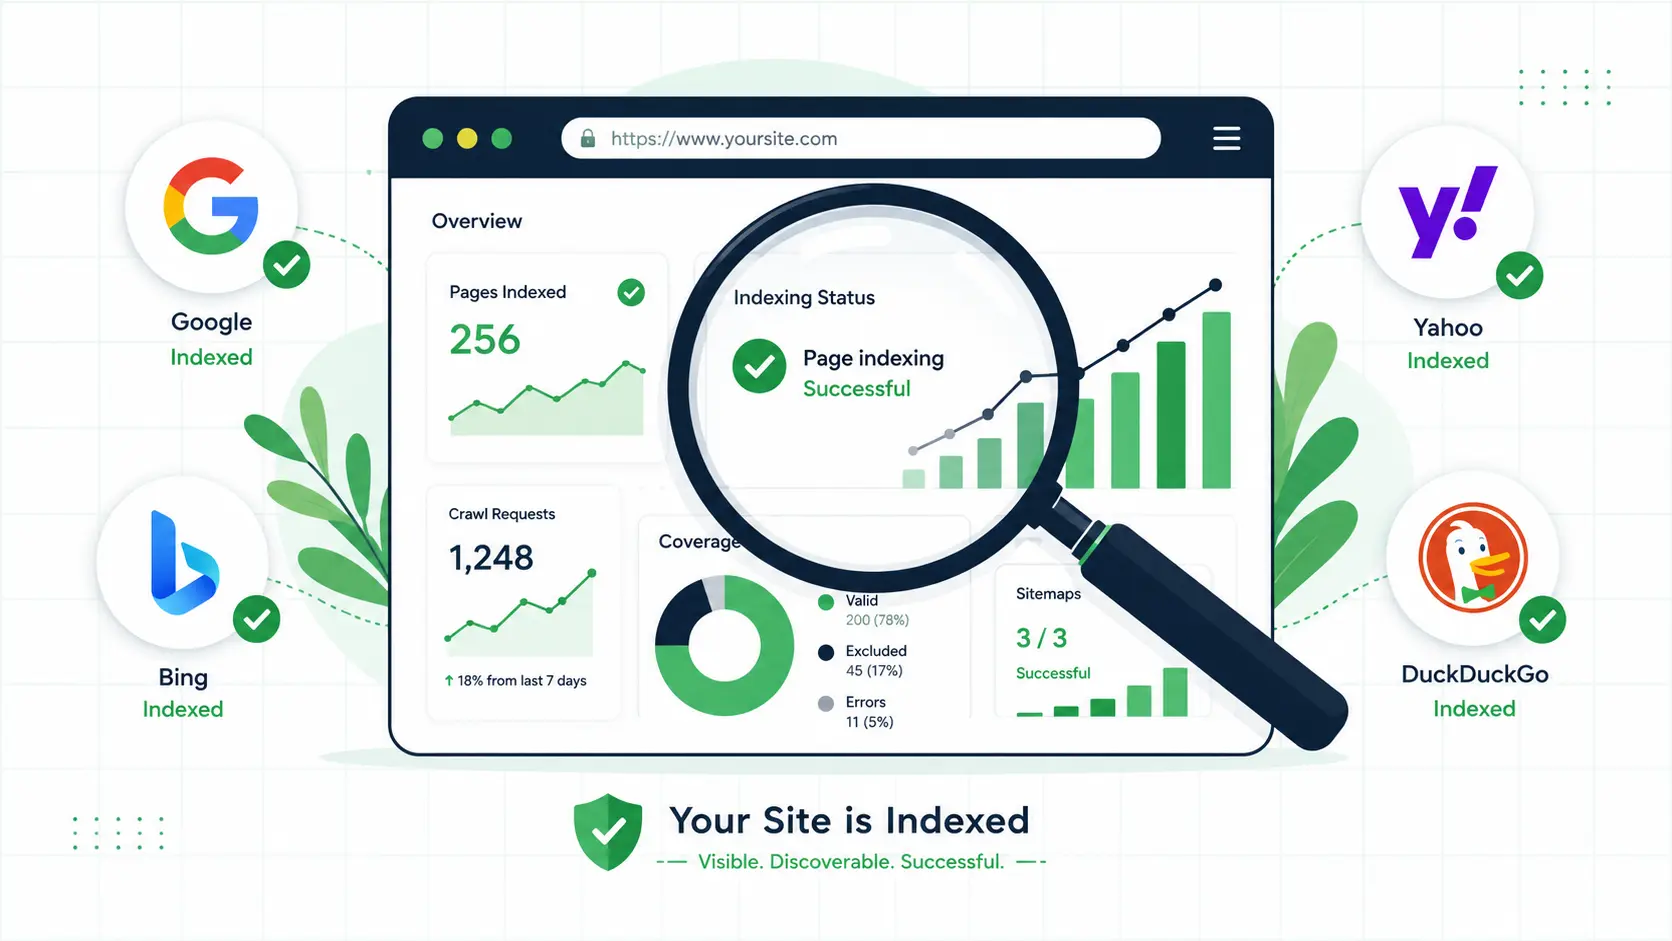
The Page Indexing report (formerly known as the Coverage Report) in GSC shows the indexing status of all pages Google is aware of on your site.
4.1 How to Read the Page Indexing Report
In the left menu, click Indexing > Pages.
The report presents two primary categories:
Indexed — pages that have been successfully indexed and may appear in search results.
Not indexed — pages excluded from the index, along with the reason why.
4.2 Important Page Statuses to Watch
Crawled – currently not indexed: Google crawled the page but chose not to index it. This may indicate thin or duplicate content.
Discovered – currently not indexed: Google is aware of the URL but hasn't crawled it yet — often due to crawl budget limitations.
Excluded by 'noindex' tag: The page was intentionally excluded from the index via a meta tag.
Redirect error / Not found (404): A technical issue that should be resolved promptly.
Duplicate without user-selected canonical: Google detected duplicate content and chose a canonical URL that differs from the one you intended.
4.3 Tips for Effective Monitoring
Check regularly — at least once a week for a new website. Google takes time to discover and index new pages.
Use the URL Inspection Tool to check the real-time indexing status of specific pages. You can also request Google to recrawl a URL directly from this tool.
Monitor trends, not just raw numbers. If the count of non-indexed pages keeps growing while new content isn't being indexed, there's an underlying issue to investigate.
After fixing errors, mark them as resolved in GSC and request validation so Google can confirm the fix.
Conclusion
Registering your website with Google Search Console is the foundational first step of any solid SEO strategy. Without it, you have no visibility into whether Google can find, crawl, and index your pages correctly — let alone understand why your organic traffic isn't growing.
By learning to interpret Core Web Vitals and the Page Indexing report, you're already ahead of most new website owners. Start with the basics: add your property, submit your sitemap, and check your reports consistently. SEO is a marathon, not a sprint — and Google Search Console is the compass that keeps you on course.